Painting a Torrance Interior in the Right Order
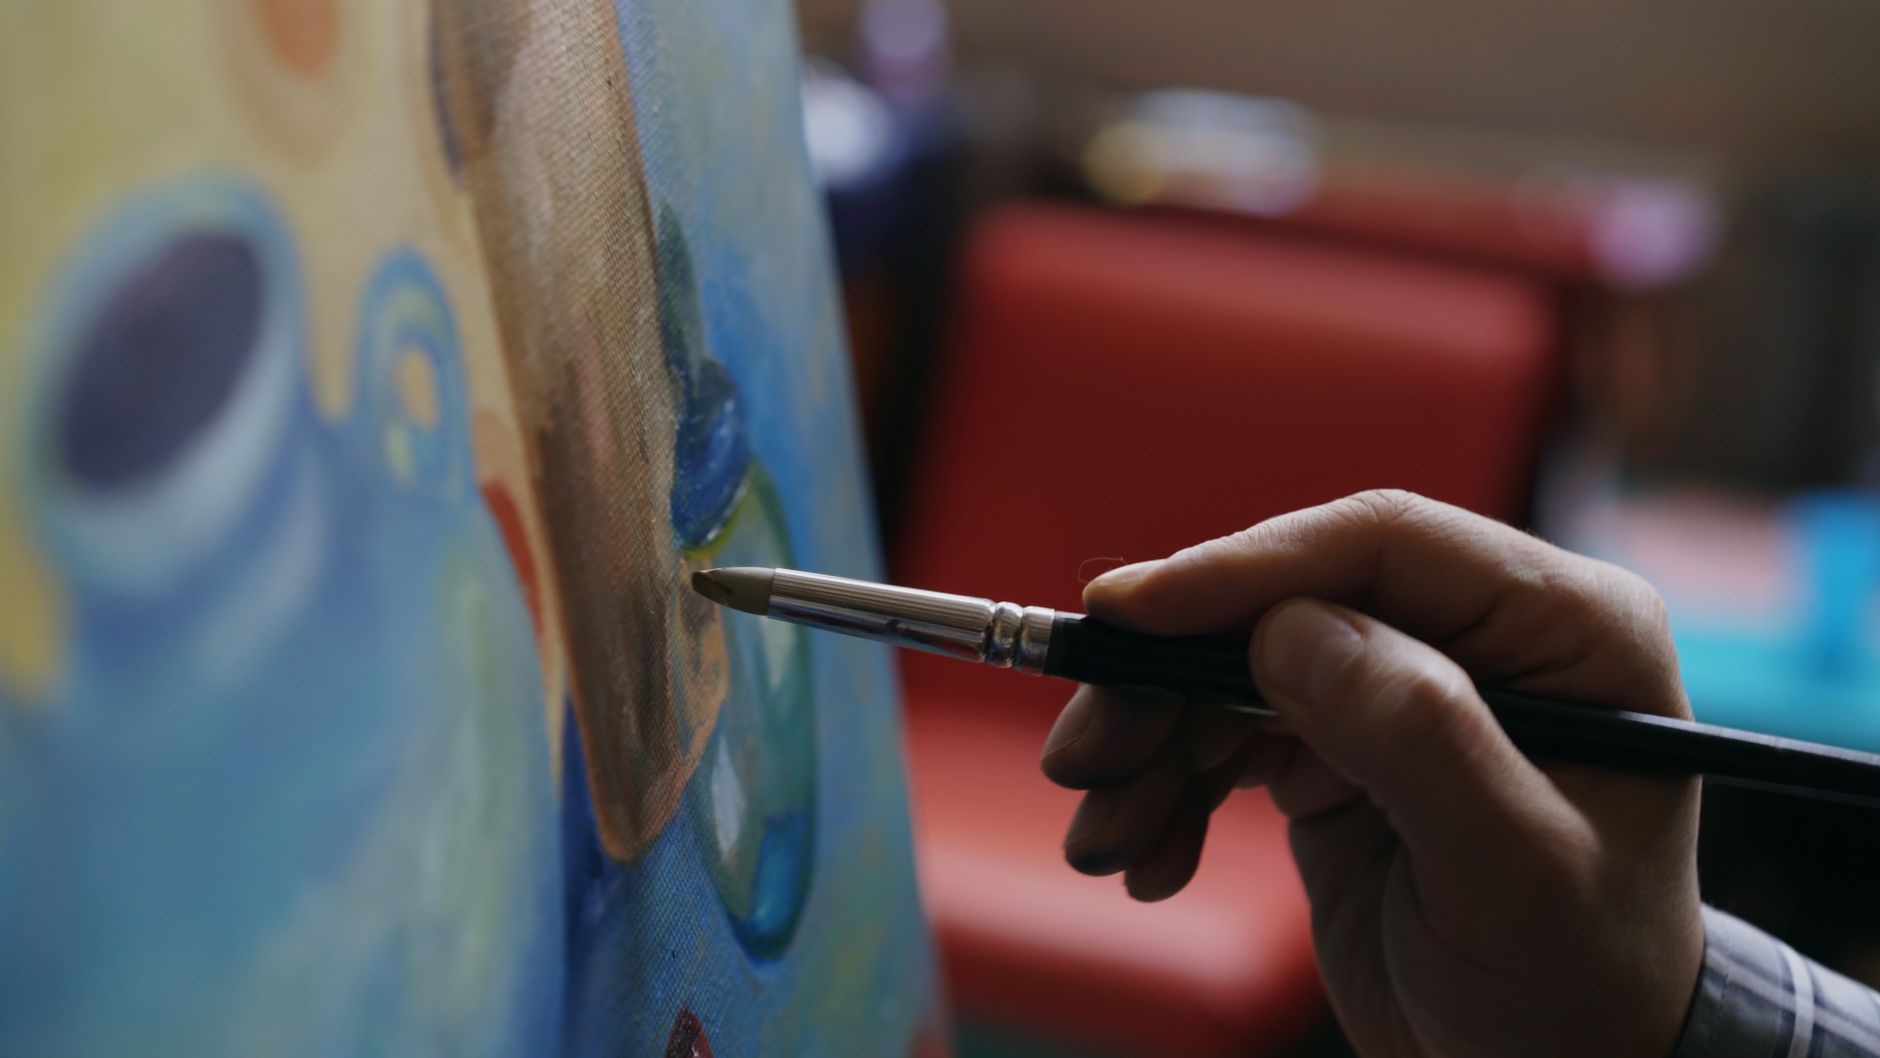
Painting the inside of a house is a sequence problem. Every step makes a mess that the next step has to avoid, so the order decides whether the crew spends the week painting or touching up. Ceilings drip on walls, walls splash on trim, trim dust lands on floors, and a roller handle dragged across a finished edge leaves a mark that takes ten minutes to fix. Crews in Torrance work through a fixed order on almost every interior, with small adjustments for the age and layout of the house. This is how that order runs and why each step sits where it does.
Why does the sequence matter so much?
Paint falls. A roller loaded with ceiling paint throws a fine spatter in a circle around the painter, and a brush charged with trim enamel drips as it travels from the can to the casing. If the walls are finished first, ceiling work ruins them. If trim goes on before the walls, rolling the wall field smears paint onto the fresh enamel. The order that creates the least rework is top to bottom, large to small, and flat to glossy, and the crew lays out the whole job along those lines before opening a can.
What does the sequence look like on a typical room?
The table below shows the order a crew follows in one room. Real jobs shift a little depending on whether the room has a popcorn ceiling, new drywall or wallpaper, but the skeleton stays the same.
| Step | Work | Why it sits here |
|---|---|---|
| 1 | Move furniture, cover floors, remove switch plates | Nothing should be in the way when the dust starts |
| 2 | Scrape, patch holes and cracks, caulk gaps | Fillers need time to dry before sanding |
| 3 | Sand patches and scuff glossy surfaces | A dull surface gives the primer something to hold |
| 4 | Vacuum and wipe down | Dust under the film shows as bumps |
| 5 | Spot prime patches and stains | Bare filler soaks up topcoat and flashes |
| 6 | Paint the ceiling | Spatter lands on bare walls and is covered next |
| 7 | Cut in and roll the walls | The wall finish is the largest area and sets the colour |
| 8 | Paint doors, casings and baseboards | Enamel goes on last so nothing drips on it |
| 9 | Remove masking, reinstall plates, clean up | Tape pulled at the right moment gives a sharp line |
How much of the job is actually preparation?
A large share of the crew's hours in a typical room go to steps one through five, and none of it shows in the finished photograph. Patching a nail hole takes thirty seconds. Waiting for the compound to dry, sanding it flush and priming it takes the rest of the morning. Houses near the South Bay are often older than they look from the street, and the walls tend to carry decades of small repairs, picture hooks and layered coats of paint. A crew that rushes this stage ends up with visible patches under the topcoat, particularly in the flat sheen that most ceilings use, which hides nothing.
Where a wall has a glossy finish from an earlier owner, a light scuff sand is the minimum. Without it, new latex can peel in sheets when a sticker or tape is removed. On a house built before 1978, the crew tests the old layers before sanding anything, and uses wet methods and a HEPA vacuum when the test calls for it.
Why do ceilings come first?
Ceilings are painted with the roller on an extension pole, which means the crew is working overhead and paint is going to fall. Doing this while the walls are bare, or at least primed and not yet finished, makes the spatter harmless. The ceiling coat is also the one most affected by lap marks, since every light in the room hits it at a shallow angle. A crew keeps a wet edge across the whole span, working from one wall to the other in a continuous pass, and does not stop in the middle of a ceiling for a break.
A ceiling in a flat finish takes one coat over a clean old ceiling and two over a stained one. Water stains need a stain-blocking primer before the topcoat, or the brown ring returns within a week. The crew checks the source of the stain first. A leak that is still active, such as one from a bathroom above or a roof near the Palos Verdes side of the county where winter rain finds its way in, will ruin any paint put over it.
How are the walls cut in and rolled?
Cutting in means painting a band along the ceiling line, the corners and the trim with a brush, usually two to three inches wide. The crew then rolls the field of the wall while the cut-in band is still wet, so the two blend. Letting the brushed band dry before rolling leaves a visible frame around the wall, because brushed paint and rolled paint have different textures. On large walls, one painter cuts in while another rolls right behind, and on small rooms a single painter does both, one wall at a time.
Roller nap matters. A short nap, around three-eighths of an inch, leaves a smooth finish on drywall in good shape. A longer nap holds more paint and suits textured walls, but leaves a stipple on smooth ones. Two coats is the normal count, with the first coat left to dry fully, and a light pass of fine sandpaper between coats if the first has raised grain or dust nibs.
What goes on the trim, and when?
Trim is the last painted surface, and it gets the most durable finish in the room. A satin or semi gloss enamel resists scuffs and wipes clean, which is why baseboards and casings take it while walls take eggshell or flat. The crew sands the trim lightly, caulks the gap where it meets the wall, spot primes any bare wood and applies two coats, with an hour or two of drying time between them. Brushing works best, and a good painter lays off the last stroke in the direction of the grain so the brush marks flatten out.
Doors are laid flat on sawhorses when possible, since a horizontal surface levels better than a vertical one and avoids runs. If a door stays on its hinges, the crew paints the panels first, then the rails and stiles, then the edges, and leaves it open until the surface is tack free.
How does the sequence change in a kitchen or bathroom?
Rooms with moisture and grease need extra steps at the start. A kitchen wall near the stove gets degreased with a cleaner and rinsed before any sanding, because grease under paint stops it from bonding. A bathroom wall gets a mildew-resistant primer and a finish formulated for damp rooms, since an ordinary flat wall absorbs steam and blooms with spots. Ventilation matters during the work as well. A fan or an open window moves the drying air along, and the crew avoids painting in a closed bathroom with the shower running next door.
How long should each coat dry before the next step?
Dry time depends on the product, the temperature and the humidity, and the label is the starting point. Most water-based wall paints are dry to the touch within an hour and ready for a second coat after about four. Enamels take longer, and oil based primers take longer still. On a foggy morning near the coast, indoor humidity rises too, especially in rooms with windows open, and drying slows. A crew keeps a window cracked and a fan running in a corner, and tests the surface by touch before starting a second coat.
What does the cleanup look like inside?
Interior cleanup is slower than exterior cleanup because everything is closer to the household. Drop cloths are lifted from the edges inward so dust does not spill onto the floor. Tape is pulled while the last coat is just dry to the touch, at a low angle, so the paint edge breaks cleanly. Switch plates and outlet covers go back on, light fixtures are reconnected and tested, and furniture is returned to its place with felt pads checked for stray paint.
The last step is a walk-through with a bright light held low against the wall. Raking light shows roller marks, missed corners and thin coverage that ordinary room light hides. Anything found is touched up with a small brush and the leftover paint from the same can, and the crew checks that the sheen matches before the room is handed back.
Top to bottom, large to small and flat to glossy is the whole sequence in one line. Everything else is patience between steps.